
Ever been stuck with a photo and wished you knew what it said? Good news! Google Translate can help. With a simple scan, it can tell you what words in a picture mean in your language.
Let’s learn how to do it.
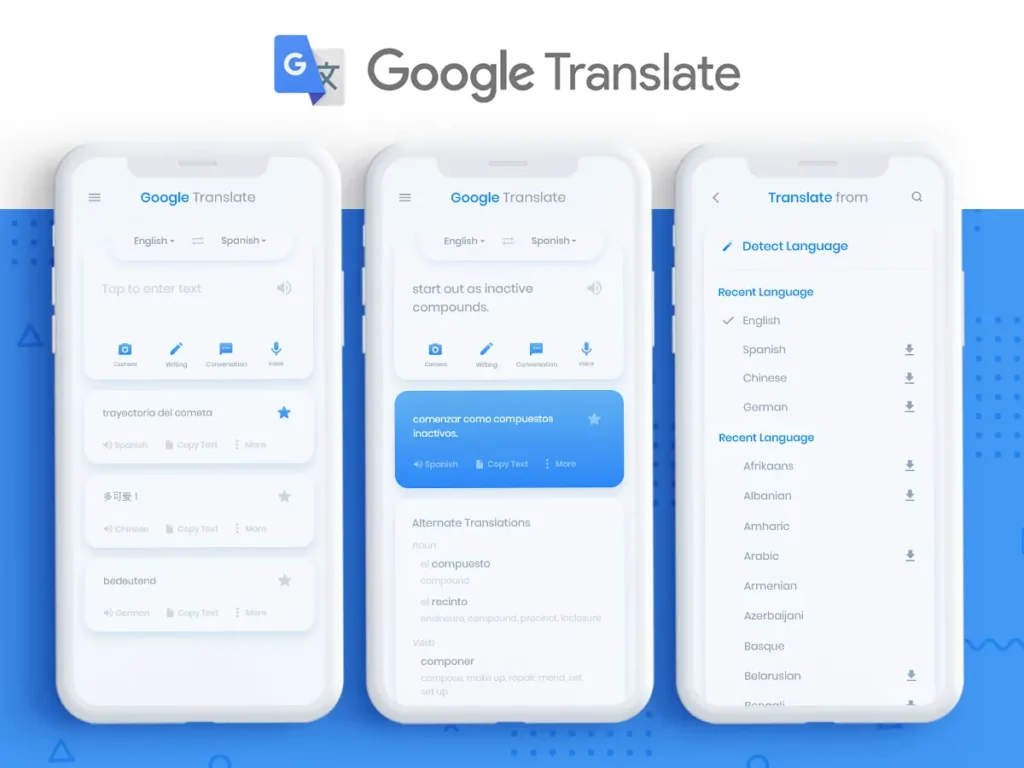
What is Google Translate?
Google Translate is a handy tool you can use online or on your phone and computer. It helps change words from one language to another. In fact, it knows over 130 languages, including popular ones like English and Spanish, and even rare ones like Tsonga.
On a computer, you can type or paste words to get their meaning in another language. On your phone, you can even use the camera to read words from pictures or listen to what people are saying and get translations right away. It is a great helper for understanding different languages and breaking the language barrier.
Getting Started
Before you learn how to use Google Translate for image translations, it is essential to have Google Translate ready to go on your device. Here is a simple guide to get you started:
Download and Install the Google Translate App
As mentioned earlier, you can use Google Translate on your mobile phone as well as your computer. However, to use it on a smartphone, you would be required to download the app. On your computer, you can use the web version online.
Read further to find out simple steps on getting started with Google Translate.
For Smartphones and Tablets:
- Go to your device’s app store (like the App Store for iPhones or Google Play Store for Androids).
- Search for “Google Translate.”
- Install the app from there.
- Once downloaded, open the app to start using it.
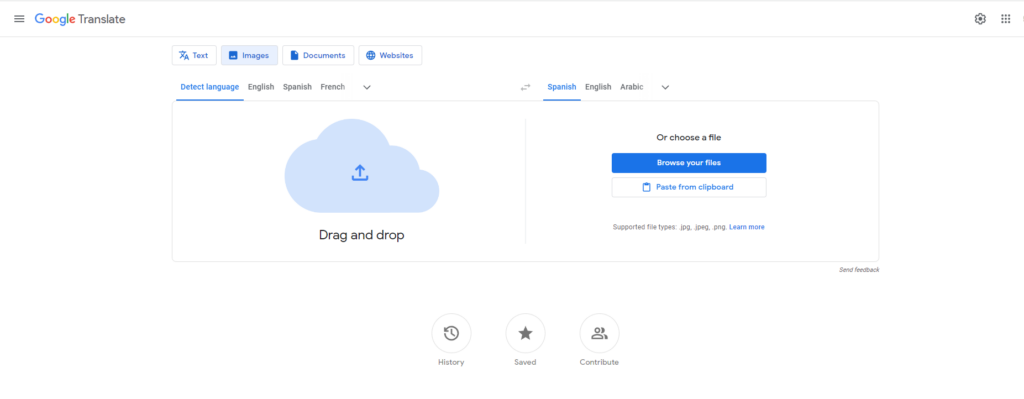
For Computers:
- Open your web browser and go to the Google Translate website.
- You can use it directly from here without any installation.
Set Up the App
Once you have downloaded the app, it is time to choose the language you will be translating to most often.
- Open the Google Translate app.
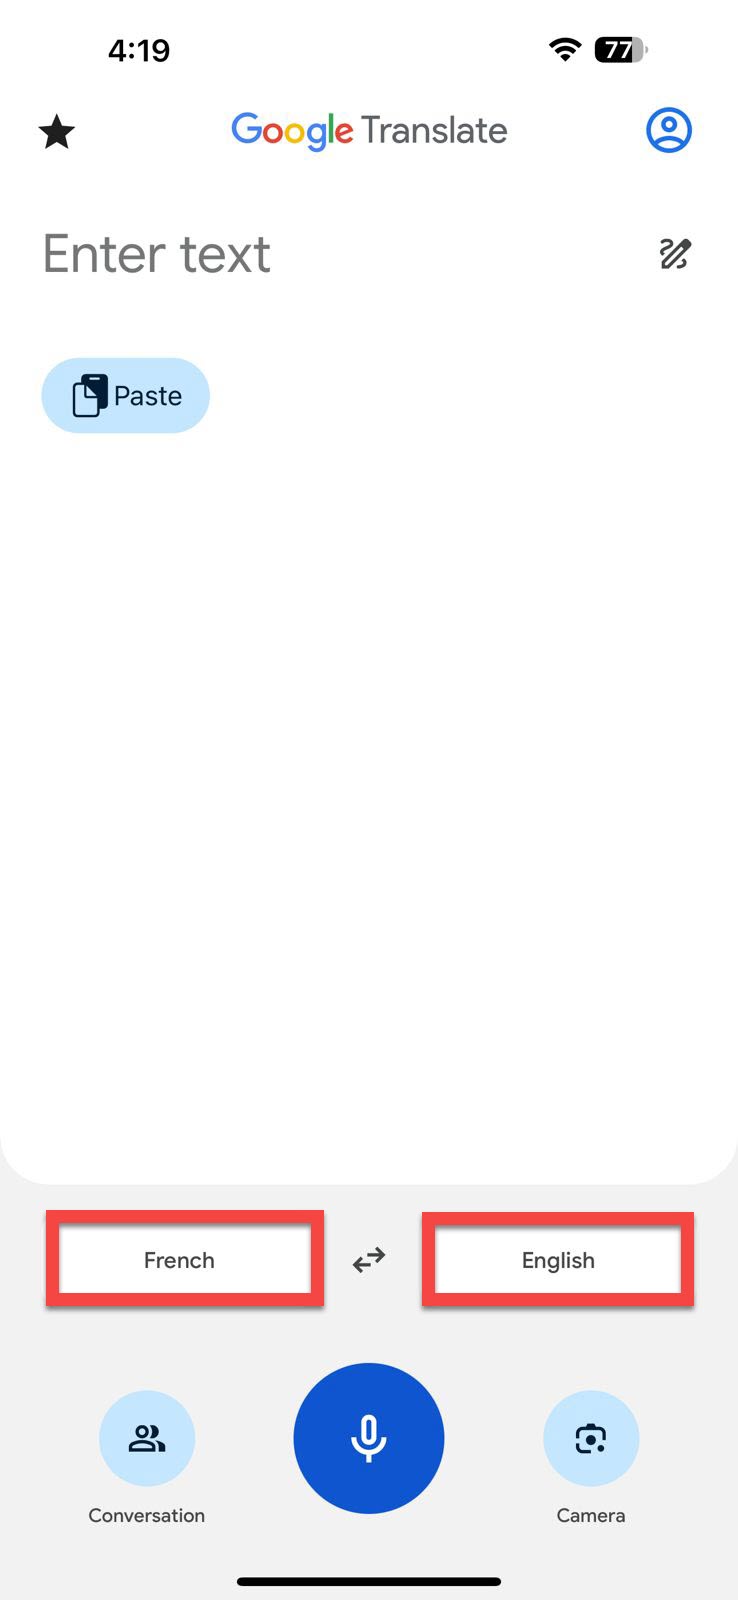
- On the main page, you will see two language boxes. The one on the left is the language you are translating from, and the one on the right is what you are translating to.
- Tap on the box on the right (this is your target language).
- Scroll or search to find your preferred language and select it.
- Now, whenever you use the app, it will automatically translate to this language. You can always change it later if needed.
- With these steps completed, you are all set to start translating images.
Using Google Translate’s Camera Feature
Now that your app is ready and your language is set explore the magic of translating images. Here is how you can do it:
Real-time Translation:
As the name suggests, real-time translation is all about getting translations instantly as you point your camera at the text. It is perfect for signs, menus, or any text you come across and want to understand immediately. Below are the steps to do it:
- Launch the App and Access the Camera
Start by opening the Google Translate app on your device. On the main screen, you will see a “Camera” icon. Tap on it to activate the camera translation feature.
- Set Languages
If you haven’t chosen your preferred language beforehand, you can choose it now. At the top, there are two language boxes. The left one is for the language you are translating from (source), and the right one is for the language you are translating to (target).
- Try the Instant Mode
For on-the-spot translations, use the “Instant” mode. Simply point your camera at the text you want to translate. As you move your camera around, you will see translations appear on your screen in real time.
- Try the Scan Mode
If Instant is not working well or you want a more detailed translation, switch to “Scan” mode. This lets you take a photo of the text first. After snapping the photo, highlight the text you want to translate, and the app will provide the translation.

Translating Existing Photos
This feature is for those times when you have a photo with text saved in your gallery, and you want to know what it says. It is especially useful for translating screenshots, saved images, or photos taken earlier.
- Import the Image
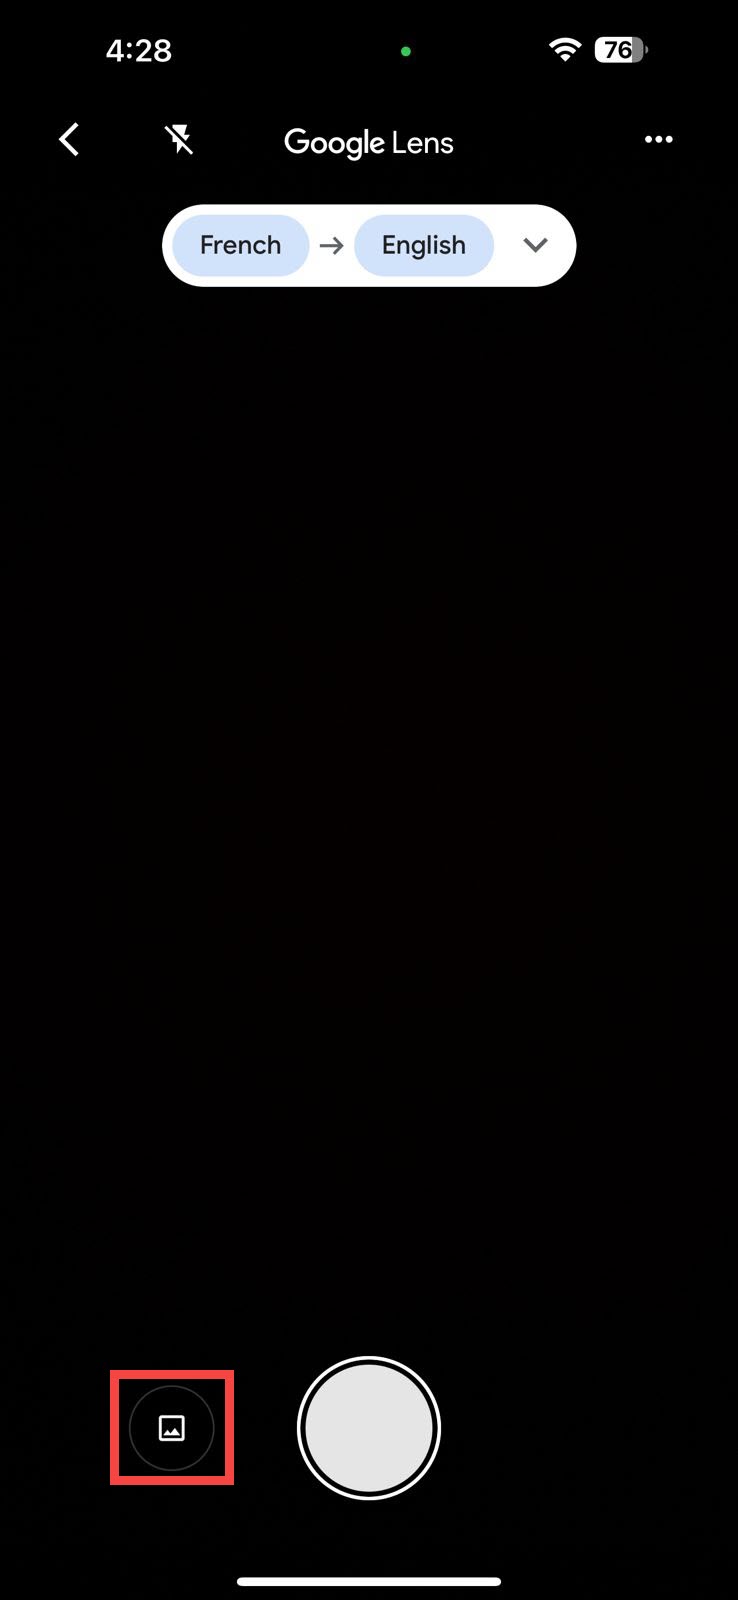
Tap on the “Camera” icon in the Google Translate app. Instead of taking a new photo, look for the “gallery icon.” Tap on it to choose a photo from your device’s gallery.
- Let Google Do Its Magic
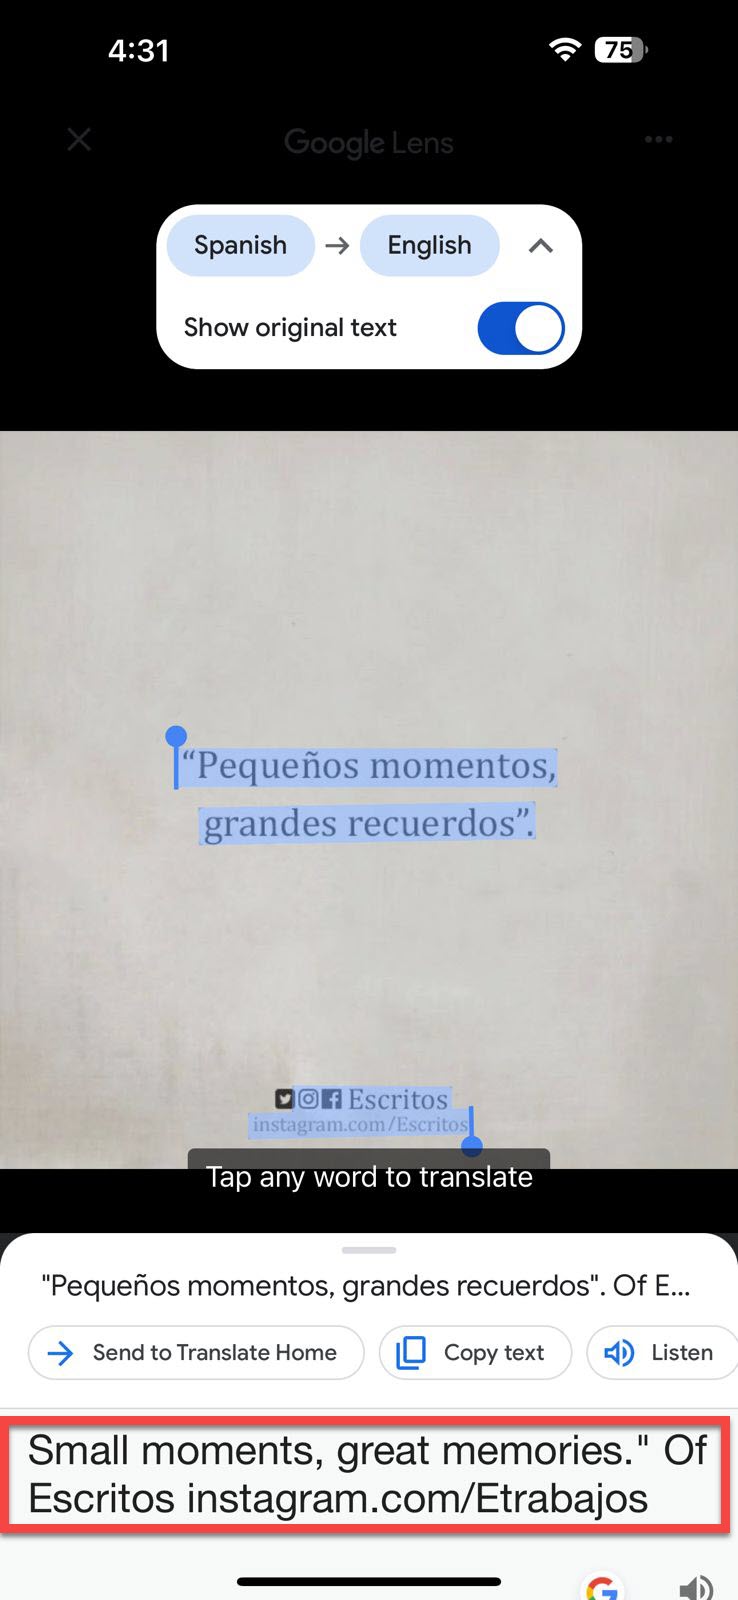
Once you have selected a photo, the app will scan and detect any text present. It will then provide translations based on the languages you have set.
- Fine-tune Your Translation
Sometimes, you might want to translate specific parts of the image or get more context. You can do this by highlighting certain words or sections. If you want to translate everything in the picture, there is usually an option like “Select All” to make things easier.
Note: While Google Translate is powerful, it is not always perfect, especially with complex images or stylized fonts. Always double-check if the translation is correct, and the clearer the text in the image is, the better the translation will be.
Advanced Features
Google Translate not only offers basic translations but comes packed with some great advanced features for better convenience. Here are some of the advanced features it has:
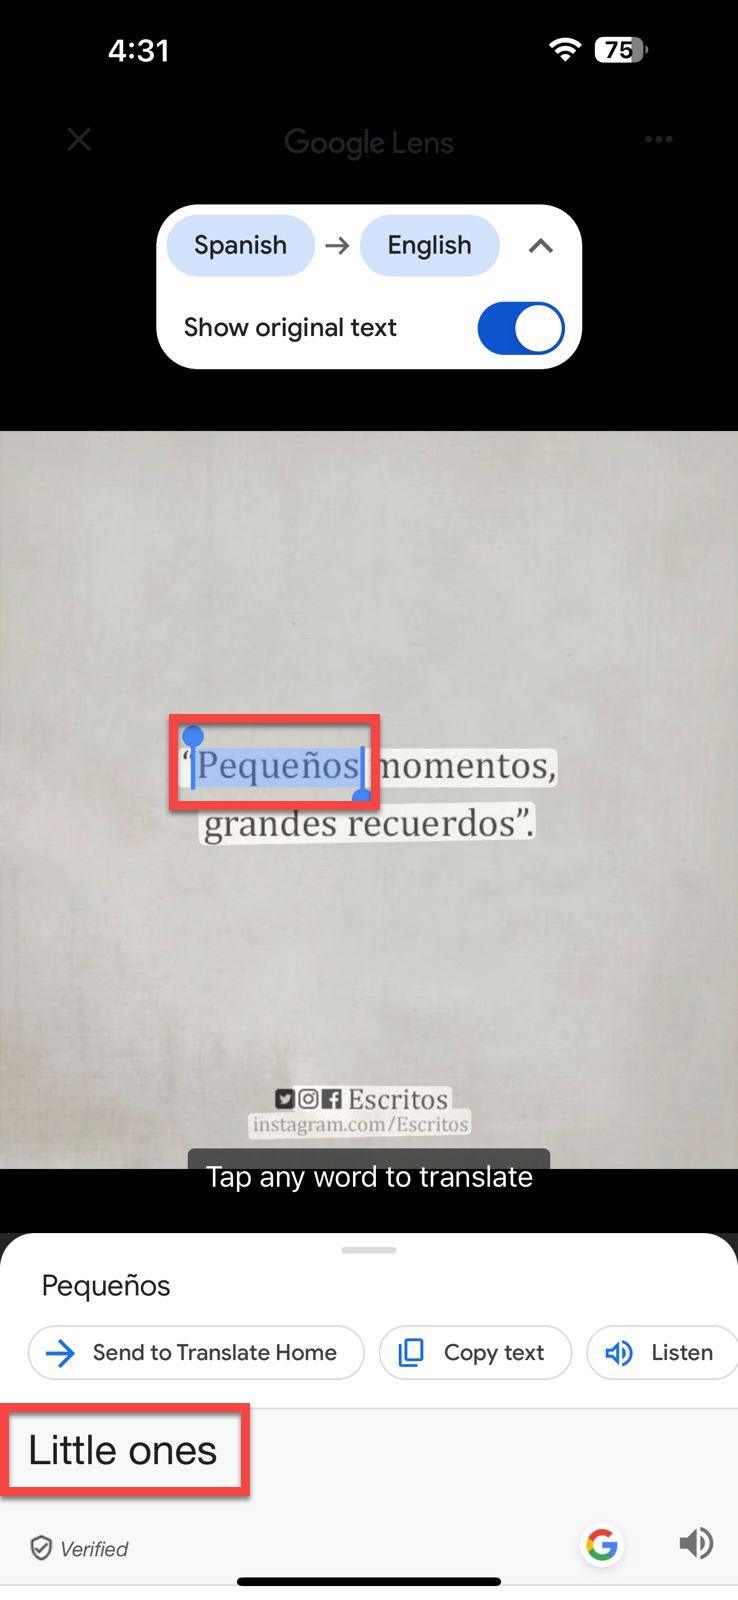
- Select Specific Sections to Translate
Sometimes, you might not want to translate an entire image but just a particular section of it, and Google Translate allows you to do just that. After taking or importing a photo, you can simply drag your finger over the specific text you want to translate. This way, you get translations only for the parts you are interested in and focus on relevant information.
- Work with Translated Text
After getting your translations, Google Translate allows several ways to work with the translated text:
- Copying: You can easily copy the translated text to use it in other apps or documents.
- Reading Aloud: If you are unsure about pronunciation or want to hear the translation, there is a feature that reads the text out loud for you.
- Sending to Translate Home: This option allows you to send the translated text to the main page of the app for further actions or to save it for later reference.
- Google Translate for Microsoft Office Documents
Google Translate is not limited to just images or typed text. It can also handle Microsoft Office documents. Whether you have a Word document, PowerPoint presentation, or Excel spreadsheet, you can upload it to Google Translate.
From there, you can choose to translate the entire document or select specific sections or paragraphs. This feature is especially handy for students, professionals, or anyone dealing with multilingual documents.
Tips for Best Results
- Ensure Clarity of The Text In The Image
- Use Commonly Used Fonts
- Be Aware of The Translation Accuracy
- Use a Stable Internet Connection
- Try the Offline Camera Translations
While Google Translate is a powerful tool, it is important to remember that the quality of the image can significantly impact the translation. To ensure you get the most accurate results possible, here are some tips to consider:
1. Ensure Clarity of The Text In The Image
When translating images, clarity is key. Unclear or obscured text can lead to inaccurate translations that cause confusion or even convey the wrong message. This is because the software relies heavily on the quality of the image to detect and interpret the text correctly. To get the most accurate translations possible, here is what you can do:
- Good Lighting
Proper lighting can make a world of difference. So, make sure that the text you are trying to translate is well-lit. Avoid shadows or glares that can make some words or letters hard to distinguish.
- Avoid Obstructions
The text must be fully visible, which can be possible when nothing is obstructing the view, whether it is your fingers, smudges on the lens, or other objects in the way.
2. Use Commonly Used Fonts
Unique and decorative fonts are surely visually appealing but can pose challenges for translation software. The more complex a font is, the harder it might be for the software to recognize and translate it accurately.
Try the following tips to avoid any issues:
- Stick to Standard
For the best results, use widely recognized fonts like Arial, Times New Roman, or Calibri. These are easily detected and translated by most software.
- Avoid Script or Handwriting
Handwritten or cursive texts can be especially tricky. Whenever possible, opt for printed text over handwritten ones for translations.
3. Be Aware of The Translation Accuracy
Not all texts are straightforward; some might have specialized terms, idioms, or unique stylizations that can be challenging to translate perfectly. So, if you find something unusual that doesn’t go with what you are trying to translate, understand that this could be a jargon that the software is unable to detect.
Here is what you can do in such situations:
- Cross-Check With Experts
When dealing with specialized or technical texts, be aware that some terms might not translate directly. It is a good idea to cross-check with the experts or use specialized dictionaries to ensure accuracy.
- Check for Context
Always review translated texts, especially if they contain idioms or cultural references. What makes sense in one language or culture might not be in another.
- Stylized Text
For best results, try to provide the software with plain and clear text. If you are translating from an image, make sure that the text is legible and free from obstructions. If the software struggles with a particular font or design, retype the text in a standard font for translation.
4. Use a Stable Internet Connection
The efficiency of online tools, including Google Translate, is heavily dependent on the quality of the internet connection. A weak or unstable connection can disrupt the translation process. Not only can this be frustrating, but it can also lead to partial or incorrect translations. Slow internet speeds might also cause the software to take longer to process the translation.
To avoid this hassle, below are a few tips:
- Use Wi-Fi over Mobile Data
Relying on mobile data can be a gamble, especially in areas with weak cellular signals. Wi-Fi, on the other hand, usually offers a more consistent and faster connection. Whenever you are planning to do extensive translations, it is a good idea to connect to a reliable Wi-Fi network for a smooth and uninterrupted process.
- Avoid Crowded Networks
Just like a crowded street can slow down traffic, a crowded network can slow down your internet speed. If many devices are connected to the same Wi-Fi, each device gets a smaller share of the bandwidth. This can lead to slower translation speeds or even timeouts.
If you notice a lag, try disconnecting some devices or switching to a different network. If you are in a public place, like a cafe or library, and the Wi-Fi is slow, it might be because too many people are using it. In such cases, if it is urgent, use your mobile data or find a less crowded network.
5. Try the Offline Camera Translations
There might be times when you don’t have internet access but still need to translate something urgently. In such a scenario, Google Translate has an offline feature that you can use by following the tips below:
- Download Languages
Google Translate allows you to download languages for offline use. In this way, you equip your device with the tools it needs to translate even without an active internet connection. Here is how you can download languages on the app:
- Open the Google Translate app on your device.
- Browse or search to find the language you wish to download.

- Tap the download icon (typically a downward arrow) next to the desired language.
- Wait for the download to finish; the duration depends on the language pack size and your internet speed. All of the downloaded language will have a tick mark next to it.
- Once done, you can use that language offline.
- Storage Space
While downloading languages is an amazing feature, remember that these files occupy space on your device. If you are running low on storage, this could impact your device’s performance or limit the number of languages you can download. Regularly review the languages you have stored and remove those you no longer need.
Limitations and Alternatives
Like every online tool, Google Translate also has a few drawbacks. Some of these are discussed below:
- Translating Scanned PDFs or Images
One of the challenges with Google Translate is handling scanned PDFs or images, especially if they are of low quality. The software might struggle to recognize and accurately translate text from these sources, which can produce partial or incorrect translations.
- Unclear Layouts or Stylized Fonts
As mentioned earlier, Google Translate relies heavily on clear and legible text. If a document or image has an unconventional layout or if the text is in a stylized font, the tool is likely to produce errors or fail to translate certain sections. This is particularly true for artistic designs or documents with complex formatting.
Conclusion
Google Translate’s image-scanning feature makes understanding other languages easy. Whether you are on a trip, learning, or just curious, this tool can help. Give it a try and see how it turns words from one language to another with just a photo.